
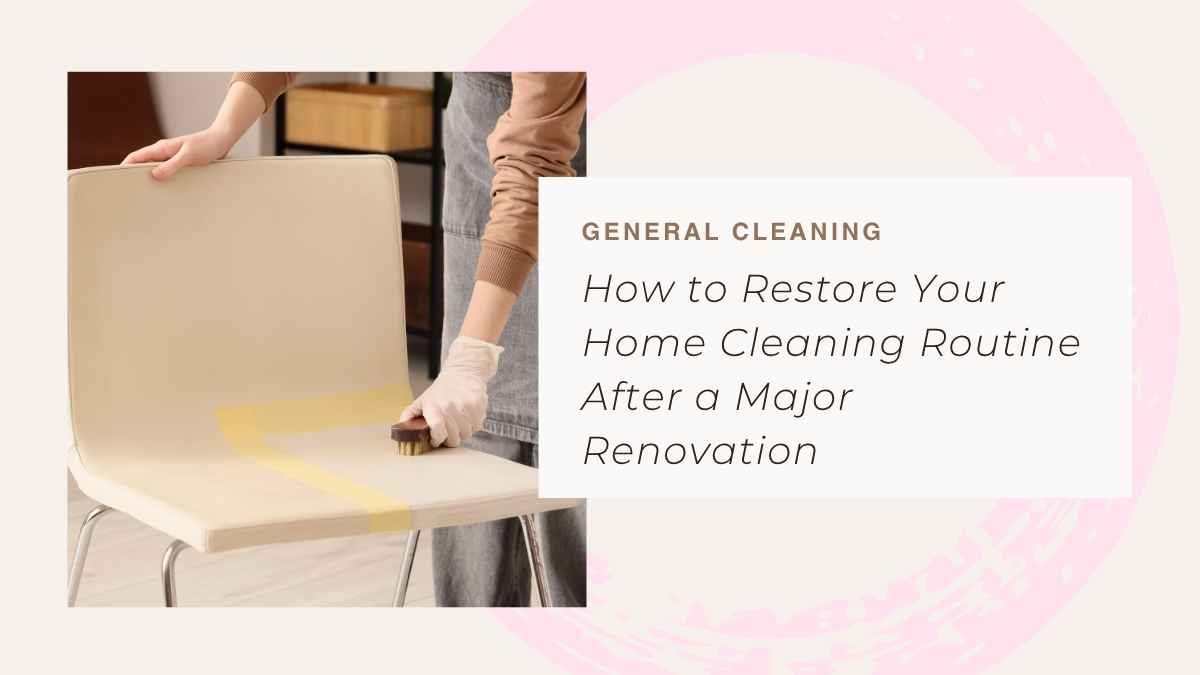
A Complete Renovation Of Your Home Can Redesign Your House But May May Find It Full Of Dust, Debris, Building Debris And Disrupted House Habits.
At the time that the contractors are ready and clear the massive materials, tiny particles might be found in the floors, furniture, walls and inside the cabinets. More than a vacuum and some wipes will be needed to go back on a normal cleaning routine.
The best strategy is to clean in a regular and consistent manner covering new surfaces, and establishing a routine that can be adhered to with a system to make your fixed-up house comfortable.
In this guide, the author will explain how to get about approaching cleaning after renovation in a safe manner, how to avoid causing the most common mistakes and how to revive your normal routine of cleaning step-by-step.
1. Inspect Your House Prior To Beginning To Clean
Look through all the refurbished spaces before setting up cleaning materials. Various projects bring about varying categories of mess. Rebuilding of the kitchen can be left with sawdust in the cabinets, rebuilding the bathroom can be left with tile dust, grout and adhesives.
Go in each room and find out areas that require attention. Baseboards, vents, and other places that will accumulate fine dust (check windowsills, door frames, light fixtures, etc.).
Have a special focus on new materials. Specialty finishes, hardwood flooring, natural stone countertops and painted cabinet can be subjected to a special cleaning method.
Write an easy list of activities to be done which needs to be completed first before the cleaning schedule and those that are routine. An example of this is that removal of construction dust should be accorded importance over the placement of the decorative items.
Should any renovation work be carried out which disturbed the older paint, insulation or any other substance that might be harmful, then do not sweep or vacuum up the remainder of it with normal household equipment.
House should get ready before using the premise affected, proper professional assessment or clean up should be prepared.
2. Clean Construction Dust (Do Not Dispersed)
Construction dust is one of the biggest post renovation issues. Once surfaces are clean due to fine particles, they can get dirty once again and again.
Begin by eliminating any packaging, loose debris and construction material. When sweeping fine dust, it is not supposed to be dry swept and as such it might spew the dust in the air.
Vacating with a fine construction dust should be done in a vacuum with a well sealed system of HEPA filtration. When dealing with large debris, an appropriate equipment to be used is that that is capable of handling the material and not a regular household vacuum.
Work on top downwards. Clean all corners of ceilings, shelves, door frames and window ledges and move on to clean lower furniture and floors.
Clean off the right surfaces with a moist microfiber towel. Wash or dry clean clothes regularly to prevent the distribution of dust by various parts.
Wash soiled room of children and pets. Where possible, ventilate the area to the external air but make sure that the dust particles are not transported to the clean rooms.
Heavy drywall dust or significant amount of construction residue may be safer and more effectively cleaned by professional post-construction cleaning.
3. Clean Newly Refurbished Floors
Another disadvantage that the new flooring suffers is its susceptibility to improper cleaning procedures. Hardwood, laminate, vinyl, tile or natural stone can be installed; however, it is safe to adhere to guidelines provided by the manufacturer when taking care of it.
Washing hard wood floors: In the case of hardwoods, one has to wash them using a soft microfiber dust mop or any other appropriate vacuum cleaner. No excess moisture should be present because the free standing water may destroy the wood and some floor finish.
Controlled moisture is also needed with laminate flooring. Apply a product that is recommended by the manufacturer and avoid using steam mops unless specially recommended by the flooring manufacturer.
Luxury vinyl floors will not be affected by regular damp cleaning, but violent scrubs and inappropriate chemicals may ruin the encasings.
Tile floors might need special consideration of grout lines. However, prior to the application of some cleaning products or processes, new grouts and sealants should be allowed to cure.
When cleaning the rest: protect floors: do not drag or push furniture, use cleaning equipment and equipment, and put the right protective pads under the legs of furniture.
4. Replacement Furniture And Upholstery, After Re-Renovation
A lot of small dust can be deposited on furniture when it is being made though it can be covered with protection sheets.
First, making a decision on the existence of dust on furniture, scratches, moisture or building remnants is necessary.
When it comes to wooden furniture, loosenesses can be eliminated by a soft cloth first and then one can apply any cleaning product that he/she wishes. The use of hazardous chemicals that can be used to destroy the varnish, paint or protective coats should be avoided.
Upholstered chairs and sofas might require adequate upholstery vacuuming attachment to vacuum them up. Clean dusty areas like seams, cushions and crevices.
The furniture manufacturer must be inspected with a cleaning code which will specify when water-based or solvent-based treatment is to be applied. Apply first test approval products on non-sensitive area.
The removable cushions are applicable under the condition of the labels of care that allow you to use it.
Furniture which may have been exposed to high amount of construction dust ought to be cleansed by a professional who specializes in upholstry. This will be particularly helpful with delicate fabrics in mind, or with deep seated residues.
After cleaning, do not forget to move the furniture back as to not scratch the fresh floors or walls.
5. Wash Your Bathroom And Kitchen
Kitchens and bathrooms should be given special consideration due to a large number of touching surfaces and plumbing fixtures, as well as wet places.
Begin in the kitchen washing cabinets and drawers that are empty. The dust may accumulate in storage space during the process of installing the cabinet, changing a counter-top or during a wall repair.
Wipe shelves and the rest of the suitable surfaces with a non-detergent cleaner which will not affect the finish. Food containers, utensils and dishes after they dry.
Wipe down countertops as per their substance. Different chemical limitations can be present in countertops that are made of natural stone, quartz, laminate and solid-surface.
Check sinks, faucets, shower enclosures, tiles and grouts within bathrooms. Clean using normal dust, and the rest of the construction residue to other methods that are acceptable by the manufacturer.
Removal of adhesive or grout stains uses sharp metal objects as they can scratch the surfaces.
Test new sinks, tubs and showers to determine whether they leak or have a loose sealant. Report the problems to the contractor in case of any issue in installation instead of trying to cover the issue with cleaning.
After these rooms have been re-constituted come back to the fundamentals of day-to-day work, like wiping of counters, drying of wet areas and cleaning of the commonly used fittings.
6. Enhance Indoor Air Quality Of Pre And Post Renovations
The issue of indoor air quality may not disappear once the renovation is done, especially the project in question may concern the painting, floor adhesives, the cabinetry or any other material that generates a smell and is a pollutant.
Start by making sure that your heating, ventilation and air-conditioning system is well maintained.
It is possible that a filter should be replaced on the HVAC system but only in case the system was turned on during construction. Consider the instructions of the equipments manufacturer and consider an expert check up in case a lot of dust had entered the system.
Never make an effort of cleaning inaccessible ducts using home-made devices.
Ventilate the re-modeled areas when the outside weather is favorable to it. The concentrations of indoor pollutants can be reduced through proper ventilation of exhausts and opening of windows.
The air can be assisted in collecting the airborne particles by the use of a properly-sized portable air cleaner that has a HEPA filter. Particle filters do not however always capture gases or chemical vapors.
Do not use excessive sprays of perfume to disguise the odor of renovations. Fragrance fails to eliminate the cause of indoor pollution.
In case of chronic strange chemical smell, seek out the potential source and refer to the qualified personnel as opposed to the application of air fresheners.
7. Re-Establish Day In And Cleaning Weekly Routine
Will have to start with a clean-up after the first one to develop a habit of keeping the house clean.
It can be boring to wash everyday in everyday and more so after a tedious task of renovating.
Instead, partitioning of tasks according to their frequency use.
| Frequency | Suggested Cleaning Activities. |
|---|---|
| Daily | Wipe the kitchen counters, clean up spills, clean rooms and check on new dust. |
| 2-3 Day | Clean objects that are frequently touched and sweep dirty areas that were tracked in on a 2-3 Day basis. |
| Weekly | Vacuum floors, washed bathroom, dusted furniture and mopped appropriate floors. |
| Monthly | Wipe off baseboards, vents and hard to reach areas. |
| Seasonally | Check HVAC, check seals and clean up some of the rooms in detail. |
Plan this arrangement in relation to the size of the house, pets, foot traffic and nature of the material that is being used.
The initial few weeks following renovation may require increased dusting of some surfaces since some particles may still be left.
Put away the utensils used to clean the store in one location. Have different cloths or equipment when using them in either the bathroom or the food preparation area to minimize cross-contamination.
A pragmatic program will be more easily followed as compared to a challenging program that will soon become too hectic to maintain.
8. Safeguard Your Renovation By Long-Term Cleaning Routines
This is not just a matter of saving the material of a newly repainted house but also the aesthetic appearance of the rooms.
To reduce dirt and grit that enters into your house put the relevant entrance mats at the doors to the outside of your house.
Place cushions on the furniture legs behind wood and other scratch prone floors (prior to wood and others becoming scarred).
On the spot clean ups using acceptable methods of cleaning up the material. Never leave gaps between cabinets, in floor-joints and other wooden surfaces wet.
Cleaning materials (shop) put in their places and instructions. Do not apply bleach, ammonia, or acids or any other cleaning products.
Record product warranty, installation procedures and maintenance procedures. These kinds of reports can guide you to stay out of cleaning regimens that are killers of finishes or warranties.
Periodically inspect renovated areas to determine loose sealant, water, broken grout or other unexpected surface changes.
It is possible to solve little problems which occur at the beginning to avoid greater damages in future.
Conclusion
Again after a major renovation work is time-consuming to clean up, it required preparation and handling of new materials.
The initial steps to undertake include careful evaluation followed by the elimination of construction dust, cleaning of surfaces as advised by the manufacturer and ventilation issues should be addressed and eliminating all the dust prior to the restoration to routine activities in a home.
Once the initial clean up is done, establish an achievable daily and weekly schedule. Vehicle cleaning, appropriate products and repair will help in protecting your renovation and will keep your home comfortable years down the line.