
Mechanical parts are lubricated with grease, but at the right consistency it may be damaging. Test the tackiness of a grease by rubbing some of the grease between your thumb and finger, it should slip off easily, good grease will slip off easily.
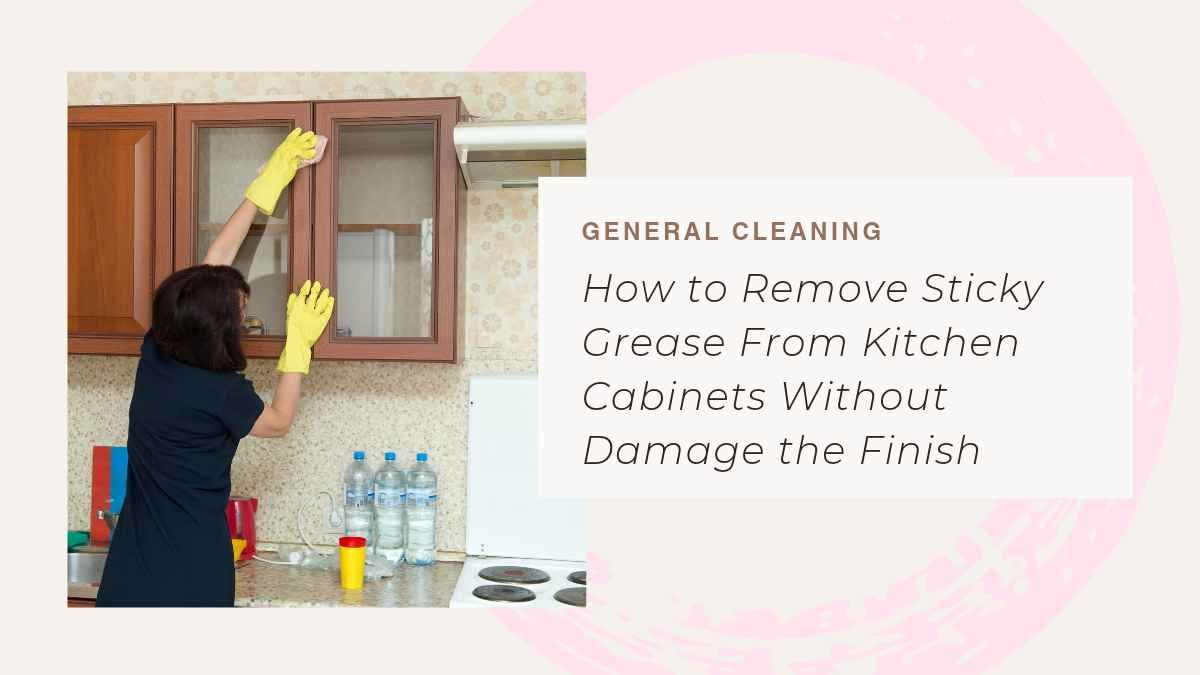
Use a microfibre cloth or sponge, then apply a grease-cutting cleaner, to remove grease from cabinets. Wipe down all surfaces, and dry cabinets to avoid water damage.
Why Kitchen Cabinets Develop Sticky Grease Buildup
Cooking will cause grease and dirt to build up in the kitchen, but will be reduced with regular cleaning. Common household items used to remove grease, painting or laminate cabinets work. Test any cleaner on an inconspicious spot of cabinet first before cleaning a cabinet surface to avoid damaging cabinet.
Sprinkled on kitchen cabinets, a mixture of distilled white vinegar and water is one of the easiest and most effective ways to remove grease. Squeeze the solution onto the microfiber cloth and use a top-to-bottom rubbing motion to apply it and then wipe up grease stains.
For hard-to-reach swirls on a cabinet use a soft brush to gently brush. Remove most of the residue and rinse the cabinets and then dry thoroughly to prevent moisture damage.
For metal kitchen cabinets, use a cleaner that is specific to the metal (i.e. stainless steel). Use clean cloth/ sponge to apply cleaner according to manufacturers directions. Clean cabinets top to bottom with a wipe; if necessary, then lightly scrub and rinse.
Rinse then dry off the cabinets again to prevent re-staining/streaking. If using vinegar is not suitable for wood cabinets, use a non-acidic wood cleaner in place of vinegar to prevent damage to the surface.
How to Identify Your Kitchen Cabinet’s Finish Before Cleaning
If painted wood, stained wood, laminate cabinets or thermofoil cabinets, the finish will determine how they look in the sun and the ability to withstand moisture, dust, grease and sunlight.
Now, let’s have a look at some tips that can help you deal with these conditions using matte, gloss, stained wood, painted wood, even laminate finishes and in fact how to determine what type of finish you have on your cabinet before you attempt to clean it!
But, if decorating a narrow galley kitchen or a condominium with limited natural light, then the gloss cabinets may reflect excessive light. In addition to being smooth and impervious to dirt and grime, which makes it easy to wipe and dry quickly, splatters will not stick to the smooth surface.
The disadvantages are they appear with fingerprints, water spots and fine scratches, which is far less noticeable in lighter white and gray tone.
Kitchens are a popular spot for which to use paint and have a wide variety of options to achieve a unique and special look. However, hides the natural texture and the flaws of the wood, so it could be worthwhile staining or perhaps glaze the wood.
Other alternatives to staining are glazing, or a combination of glazing and staining. This is also true for waterborne UV finishes, which will highlight the grain, but provide a similar effect, and will also be healthier than oil paint finishes.
Best Gentle Cleaning Solutions for Greasy Cabinet Doors
The stained, grease-fingered finger prints and general use and abuse of kitchen cabinets give them an aged appearance. Using quality parts cleaner, these stains can be wiped away and cabinet surfaces can be re-polished.
Select a mild cleaner that is made to complement your cabinet’s material. Mild degreasers that will not strip the surface are used to clean wood finishes such as varnished and painted wood surfaces.
With laminate and melamine cabinet materials, use materials that will not adversely affect these materials over time, like degreasers.
Rejuvenate’s cleaner is a powerful cleaner that is also low impact to ensure shiny surfaces. It can be used on many materials for cabinets including room finished wood and laminate, it’s a great strong versatile degreaser for the homeowner who wants a strong and versatile product to use.
Parker and Bailey Kitchen Cabinet Cream will remove all traces of grease, stubborn stains and wax residue from all cabinet surfaces.
This product also conditions the wooden surfaces thus avoiding drying and cracking with time. Plant-based, and made with non-toxic ingredients, it’s a safe and effective cleaning solution for any kitchen.
Step-by-Step Method to Remove Sticky Grease Without Damage
Some preventive upkeep can assist you in maintaining brilliant looking kitchen cabinets. Sweep up splashes and grease stains as soon as they occur and wash doors on cabinets once a week with a cleaners that is effective but not harsh (eg an all purpose cleaner, washing up liquid with water) and using a micro fibre cloth.
Clear out cabinets and drawers once or twice a year, wipe inside and outside of all cabinets and special attention should be given to those that have grooves or trim where dirt can accumulate.
How to Clean Grease From Painted and Laminate Cabinets
Kitchen cabinets provide a wealth of spots for all kinds of food spills and messes – especially above the stove. Cabs that are transported with the air can likewise gather on the cabs surface, resulting in a thin layer of grease which can capture dust and various other particles.
This is because when cabinets are spilled or splattered throughout the day, this can lead to this problem, so it is important to clean them down daily with a soft cloth and cleaning solution, to minimise this buildup.
Cleaning of the faces in the front of the stove’s cabinet should be done once a week and every 1-2 years for deep cleaning.
If you have painted or laminate cabinets, use a safe kitchen degreaser, such as Dawn(r). Usually these products work better than regular cleaners, wear rubber gloves and work in a well-ventild area when using them. Please follow the product instructions for optimum results.
If the stains are very stubborn, take the stain patch and gently scrub or sponge with baking soda or other grease cutting cleaners. Let the cleaner sit for 1-2 minutes to release the grease.
Next, apply the cleaner to the stains and then wipe the cabinet surface with a wet cloth to get rid of cabinet cleaner or soap suds. Dry up cabinet surface with a micro fibre cloth, focusing on the knobs and pulls, where greasy fingerprints may form.
Waste of grease from wood and wood veneer cabinets and furniture
Gentle cleaning methods leaves wood finishes intact and does not cause further build-up. Use of hard chemicals, abrasives, excessive amounts or excessive quantity of water can cause irreparable damage.
Deep cleaning typically is recommended every 3-6 months and light cleaning typically is recommended every couple of months. Every few months, apply a UV blocking sealant to the cabinets to protect them from fading and dulling due to UV light from natural light.
This product is specially designed to clean kitchen cabinets without damaging their finishes and won’t cause streaking like homemade cleaners. Easy to use; can remove stains and residues from all types of cabinet materials such as wood and veneer. The pH balanced formula is perfect for every day use, and provides a smooth finish.
It is packaged with a 32 oz. spray bottle and a soft detail brush to apply the degreaser easily and in hard to reach corners. Its design is versatile, it will fit all finished cabinets in any material and type.
Made in the USA from a plant, it’s safe for your family, safe for the environment, and has a low odour level for minimising the risk of sensitivity. Also, the gentle formula replaces the wood fibre, preventing any future degradation of wood and ensuring cabinets continue to look like brand new ones for many years to come.
Common Cleaning Mistakes That Damage Cabinet Finishes
Kitchen cabinets are hit hard every day, whether it’s food splatters, greasy fingerprints or anything in between. It is also necessary to clean them and maintain them regularly to maintain freshness and cleanliness.
The cabinets can be finished wood, glass or laminate and there are a few steps that can be taken to ensure they are sparkling clean.
When you’re preparing to paint your kitchen cabinets, it’s important to carefully follow all the steps involved. Preparation of surface by cleaning, sanding and cleaning before painting with a new paint.
Many homeowners don’t take the time to do these steps and simply rush into painting. This can result in smudged or even chipped finishes which will require a makeover.
Another common mistake that everyone would make when they are getting ready to paint their cabinets would be not tagging the door of the cabinet before taking them off. You can use a numbered system on masking or with masking/painting tape to have a system that works for you.
This will help you ensure that the doors are put back in the correct place once they’re re-hung. Taking photographs of your cabinet before you start working on it is also beneficial since if anything is done wrong, you will have photographs of it.